


Do you run a WordPress site? Have you configured it so that its contents are automatically backed up in case of failure/hack/human error? If it's a no, then you better get cracking as it can happen to anyone. Check out how you can automatically backup any WordPress site to Amazon S3 on a regular schedule for pennies.
But what if my web host provider already offers backups?
Then use your web host! I self host my WordPress sites on DigitalOcean droplets that only cost $5 a month to run. However, it does mean that I have to maintain the server, as well as backups, but for the cost, I can't complain.
WordPress Backup Plugins
You will need a method in which you can backup all your WordPress files and database on a regular schedule. For that you should use a plugin, there are many available but the one I use (and so do over 3+million people) is UpdraftPlus.
UpdraftPlus can backup all your files and database to multiple cloud storage providers such as Dropbox, Google Drive, Amazon S3, Updraft Vault, Rackspace Cloud, FTP, DreamObjects, Openstack Swift, and email.
UpdraftPlus includes the following features:
- Restores, as well as backing up
- Backs up to more cloud options than any others
- Allows you to set up automatic backup schedules, for the ultimate in convenience
- Is faster, using up fewer server resources
- Has been tested on over 1 million sites
They do have a premium version which has a few more options but I've not felt the need to make use of it (yet).
Here are some of the many features of UpdraftPlus Premium:
- Incremental backups
- Easily duplicates or migrates websites (with Migrator)
- Multisite/multi-network compatible
- Backs up non WP files and databases to multiple remote destinations
- More storage destinations (e.g. OneDrive, BackBlaze, Azure, SFTP) and multiple destinations
- Database encryption
- Advanced reporting
- Supports WP-CLI
- Free dedicated expert support
Taken from their WordPress site page here.
Set up the plugin
As with all other WordPress plugins, you can install it directly from your site.
Just navigate to Plugins > Add new, search for UpdraftPlus and click install.
Once installed, you'll need to configure it. Go to Settings > UpdraftPlus Backups
Go to the Settings tab and configure your files and database backup schedule. I choose daily and to only retain the last 4 backups.
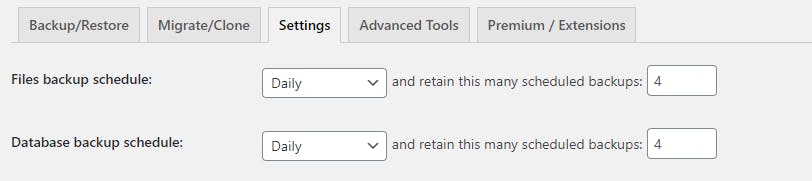
Note - If this was for a proper production site I would probably keep at least the past 7 days, though I would pay for premium and use incremental backups to save on storage. And at that point, it would be better to retain for 30 days.
Next, choose Amazon S3 as your remote storage provider.
You will then need to provide your S3 access and secret key, along with your S3 bucket location. Let's get those setup and configured.
Set up AWS S3 storage

Go to aws.amazon.com/console and sign in with your AWS credentials.
You can either create a root access & secret key that has access to your entire AWS account or create a new IAM user with specific bucket access. The latter is the recommended approach but both options are provided below. Pick one!
Create root access key
On the top right of the screen, navigate to your name and pick My Security Credentials from the dropdown menu.
Expand the Access keys (access key ID and secret access key) tab from the accordion menu.
Press Create New Access Key button to generate a new key and secret.
Note - If you're signed in as an AWS root user, then this key will have unrestricted access to your entire AWS account. We should really practice the principle of least privilege and create a new IAM user with just access to the specific S3 bucket (see below).
Creating a separate IAM user (recommended)
As mentioned above, it's best to create a new IAM user that has access only to the specific S3 bucket and not the rest of your AWS account. The following steps presume you already have an S3 bucket created. If not, do that first before proceeding.
In AWS, go to IAM services
Under Access management, select Users
Press Add user
Provide a unique user name such as site-backup-s3, where site is the name of your WordPress site.
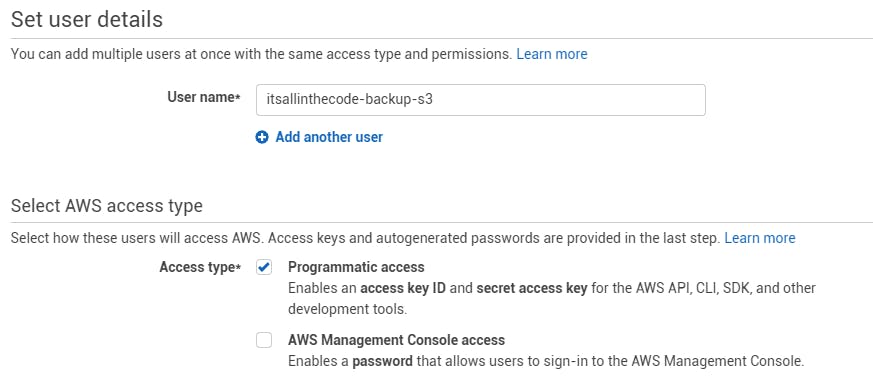
For Access type, select Programmatic access.
Press Next to continue.
Optional - If you're using one account to backup multiple sites to S3, then it may be worth attaching the AmazonS3FullAccess policy to the account. You can do that by going to Attach existing policies directly tab, typing in S3 in the search box and selecting AmazonS3FullAccess. Otherwise, perform the following below.
If this account is only for one site then it may be better to grant explicit permissions. You can do this by pressing Create policy under the Attach existing policies directly tab.
Under Service, select S3
Under Actions, select the following:
List > ListBucket
Read > GetObject
Write > DeleteObject, PutObject
Permissions management > PutObjectAcl
Under Resources, select Specific, then:
Bucket >Add ARN - Enter the S3 bucket ARN that you created earlier, then press Add.
Object > Add ARN - Enter bucket name and select Any for the object name, then press Add.
For reference, here is the JSON policy:
{
    "Version": "2012-10-17",
    "Statement": \[
        {
            "Sid": "VisualEditor0",
            "Effect": "Allow",
            "Action": \[
                "s3:PutObject",
                "s3:GetObject",
                "s3:ListBucket",
                "s3:DeleteObject",
                "s3:PutObjectAcl"
            \],
            "Resource": \[
                "arn:aws:s3:::\[bucket-name\]",
                "arn:aws:s3:::\[bucket-name\]/\*"
            \]
        }
    \]
}
Press Review policy to proceed.
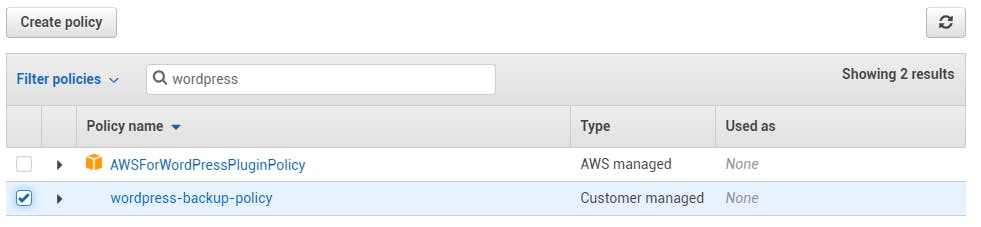
Next, provide a name for the policy, something like "wordpress-backup-policy".
Press Create Policy to save your new policy.
Go back to the Add user window and refresh the policy list. Search for your new policy and select it.
Press Next and add any tags (if needed).
Press Next again and then Create user
Make sure to save the access and secret key somewhere safe. As you won't be able to view the secret again once you navigate away from the page.
Configure the plugin and first sync
Back in the UpdraftPlus settings page on your WordPress site, you should paste in the AWS access and secret keys that you created earlier.
For the S3 location, if you have already created a bucket, then enter its name here. Otherwise, enter a globally unique bucket name (for all AWS S3 users) and if the bucket doesn't already exist, then it will be created for you.
Press Test S3 Settings to verify that a successful connection can be made.
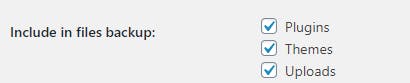
Under the Include in files backup header, ensure that Plugins, Themes and Uploads are all selected.
Scroll to the bottom of the page and press Save Changes to commit your changes.
Go to the Backup/Restore tab and press Backup now to start your first backup.
Depending on the size of your site it can take a few minutes. It will let you know when it's complete. Make sure to not navigate away from the page.
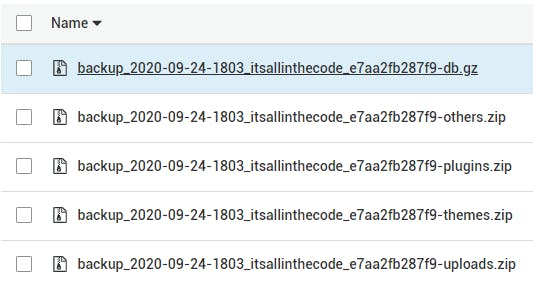
To verify that everything is configured correctly, go back to the AWS web console and go to your S3 bucket. You should now see at least 5 zip files for each backup, consisting of DB, others, plugins, themes and uploads.
That's it, you are now automatically backing up your WordPress site to S3!
Costs
Of course, nothing is free in life but this won't cost you much.
I'm currently backing up 3 WordPress sites and it's costing me around £0.23 ($0.30) per month. Admittedly, the larger your site the higher the cost but imagine the cost if you lost it! Also, bear in mind that I'm only keeping the last 4 backups.